
How To Store Old Photographs
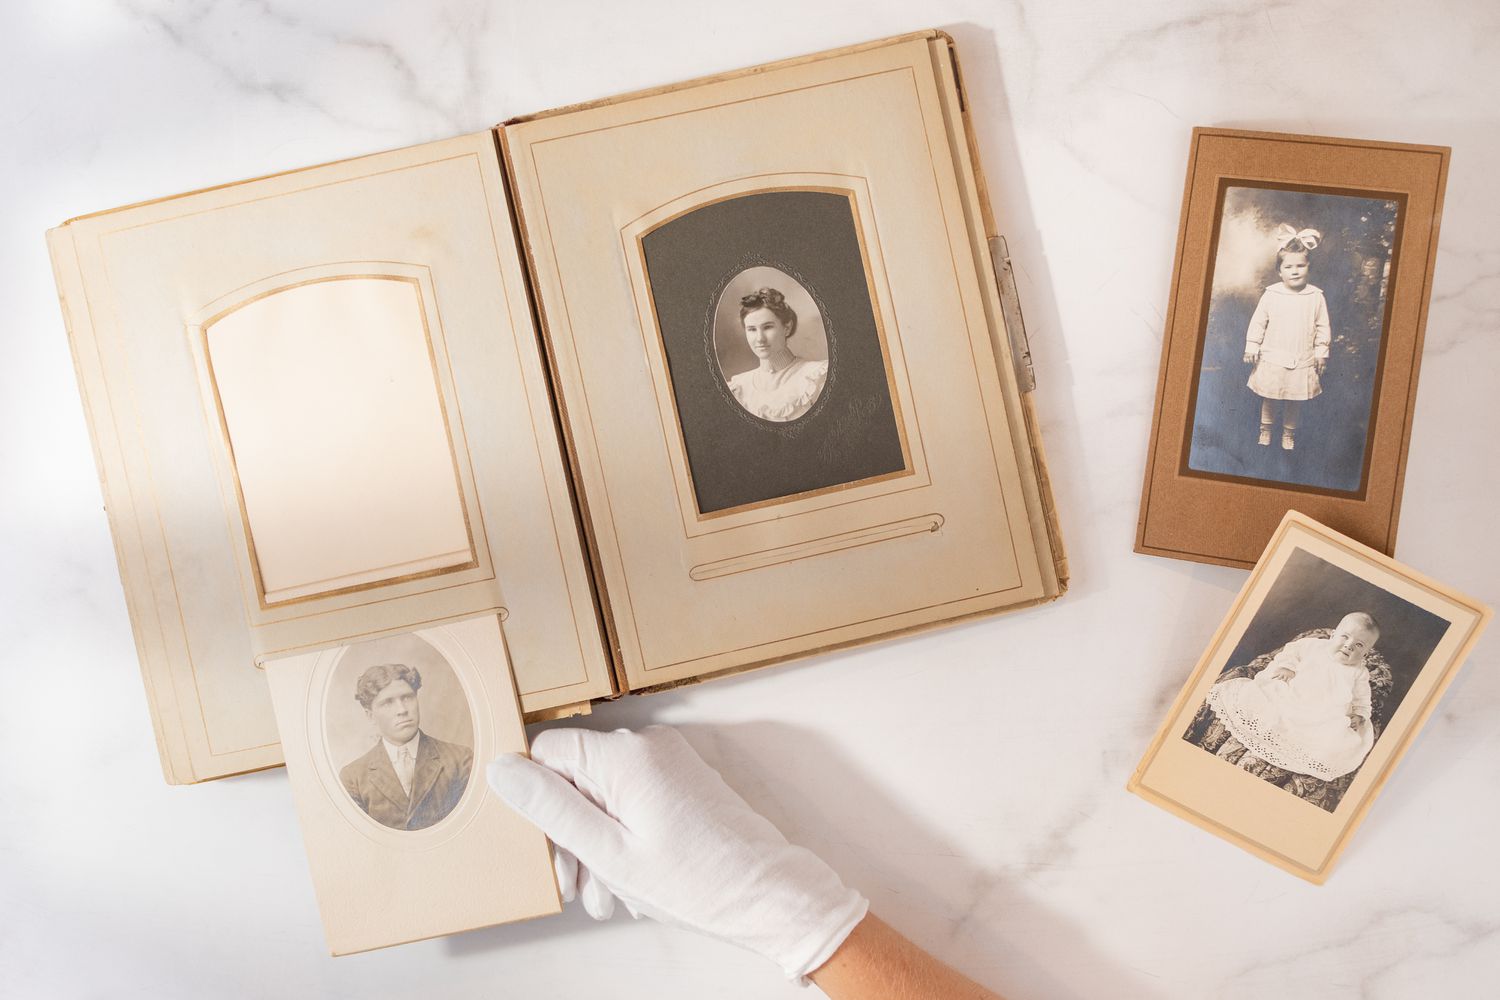
Alright, folks, let's talk about those old photographs hiding in your attic, tucked away in shoeboxes, or even stuck in albums that are falling apart at the seams. You know, the ones that make you go, "Oh, remember when we thought mullets were a good idea?" Yeah, those.
First Things First: Why Bother?
Before we dive into the nitty-gritty of storage, let's address the elephant in the room. Why should you care about these old photos? Well, aside from the fact that they're a goldmine of hilarious fashion faux pas, they're also a piece of your family's history. They're the visual equivalent of grandma's stories, and who knows, maybe one day your kids will look at a picture of you in your '80s prom attire and say, "Wow, Mom/Dad, you were fashion-forward!" (We're laughing with you, not at you.)
Okay, I'm Convinced. Now What?
Great! Now that you're on board, let's talk about how to keep these little time capsules from turning into confetti. The key here is to think like a museum curator (minus the stuffy suit and the 'shush' finger).
Step 1: Get Organized
First things first, you need to round up all your photos. Check under beds, in closets, and even in the back of the junk drawer. You'd be surprised where these little guys can turn up. Once you've got them all together, it's time to sort. You can do this by date, by event, or even by who's in the picture. Just remember, the more organized you are now, the easier it'll be to find that one photo of Aunt Sally with the whoopee cushion on her chair later on.
Step 2: Handle with Care
Photos are delicate, so handle them with care. No more crumpling them up and stuffing them in pockets (we know, it's tempting). Instead, use cotton gloves if you've got them, or at least wash your hands first. Grease and dirt can damage photos over time. Also, avoid touching the actual picture part - stick to the edges.

Step 3: The Great Photo Dilemma: To Scan or Not to Scan?
This is a big one. On one hand, scanning your photos means they're backed up digitally, safe from fires, floods, and your cat's 'helpful' paws. On the other hand, it's a lot of work. Our advice? Start with the most important ones - the ones that make you laugh, cry, or say, "Wow, I can't believe we did that!" You can always scan more later.
Step 4: The Perfect Home
Now, let's talk about where to store your photos. You want a cool, dry place. No attics, no basements, no direct sunlight. A closet or a drawer in your bedroom is perfect. Avoid tight spaces - photos need to breathe. And whatever you do, don't stick them in the freezer. We know, it sounds like a good idea (cool, dry, right?), but the temperature changes when you open the door can damage them.

Step 5: The Final Touch
Lastly, consider getting some photo albums or acid-free sleeves. These are designed to protect photos from damage. Plus, they look nice. And who doesn't want their family history to look good?
And There You Have It!
Your old photos are now safe and sound, ready to be enjoyed by generations to come. So go ahead, pull out that album, and have a good laugh at your younger self. Just remember, your kids are probably doing the same thing to you right now. Such is life in the photo era.